The Dogline


SAME DAY SHIPPING!
Hurry offer expires in


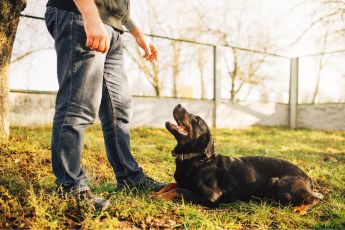
3 Simple and Easy Tips to Master Your Bark Collar Training
Related Article:
Are Anti-Bark Collars Cruel to Dogs?
How Can My Dog Bark When it Needs to?
Which Anti-Bark Collar is the Best In Australia?
3 Key Things You Need To Look For When Getting Your Dog a Bark Collar
What is an anti-bark collar?
An anti-bark collar is a bark control device that trains your dog to bark only when it's necessary. Using a bark collar requires knowledge, skills and a positive outlook so that you can use it safely and effectively.
In this Dog Bark Collar Training Guide, you will learn our 3 Bark Control Secret Tips:
-
SECRET TIP #1: HOW TO TRAIN YOUR DOG WITH A BARK COLLAR? 2 SIMPLE METHODS!
-
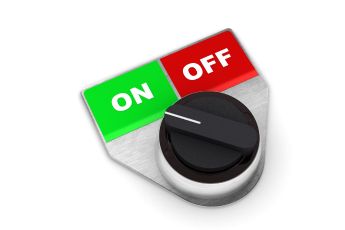
SECRET TIP #2: HOW LONG SHOULD YOU LEAVE THE BARK COLLAR ON?
-
SECRET TIP #3: HOW TO FIT A BARK COLLAR FOR BEST RESULTS?

TIP #1: HOW TO TRAIN YOUR DOG WITH A BARK COLLAR? 2 SIMPLE METHODS!
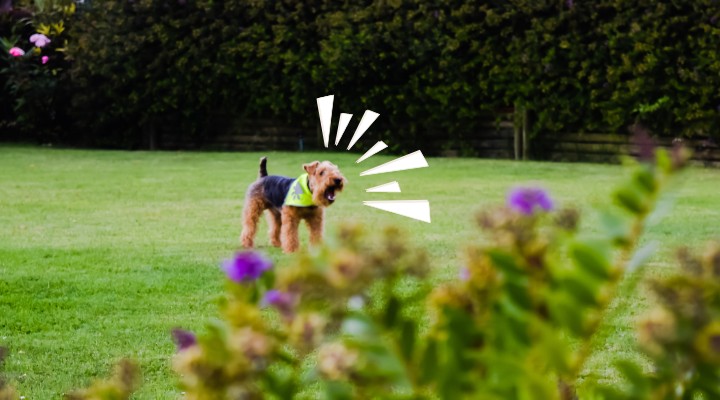
Using a bark collar is not as simple as just putting it on your dog and hoping for the best. This is what most dog owners fail to understand.
You need to train your dog with an anti-bark collar properly so that he understands why he is being corrected and learns to control his barking.
Here are the two easy ways to train your dog with a bark collar safely and effectively.
The Lead Training Method:
In this approach, you will need to:
Put your dog on the lead to have control of him when necessary. But, please don’t attach the lead to the bark collar itself because it may tighten the collar and we don’t want to add pressure to your dog’s neck. What we highly recommend is to use a dog harness instead. 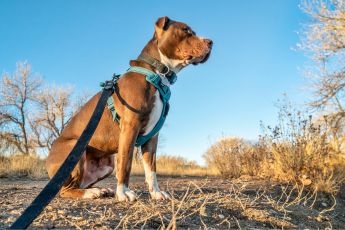
Bring your dog to the spot where he's doing most of his barking episodes. It could be when someone is at the door or pushing the doorbell, near the porch, or the fence where his usual triggers like birds, vehicles, people passing by or the animals next door are visible.
Start the training at the lowest correction level. As soon as your dog barks at his trigger, he'll receive the stim correction from 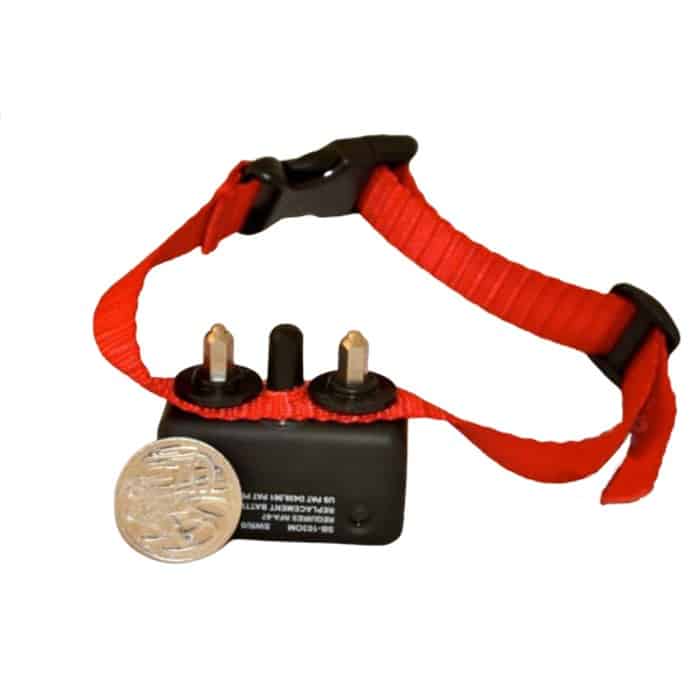 the anti-bark collar to deter him. Some bark collars have automatic and progressive levels of correction which save you more time and effort.
(Anti-bark collars like our BC6 - Barking Dog Training Collar start with a little beep tone which is followed by a very low level of static stimulation which gradually increases if the dog persists on barking. The beeping tone from the bark collar teaches the dog that it is a reminder not to bark too loud because t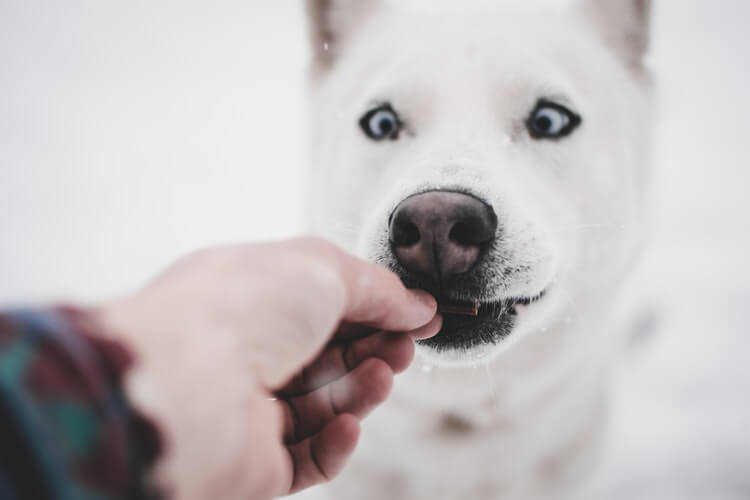 he static correction will follow. So, what happens is if your dog bark, he'll get the tone, followed by a static correction at level one which will go up, if he persists in barking.)
Praise and Reward. Make sure to reward your dog with treats, verbal praise, or pats whenever he stops barking at unnecessary things - these teach your dog to “understand” that good behaviours are rewarded and bad barking habits have consequences.
The On and Off Method
Learn the "On and Off Method" by following these easy steps:
-
 Start by turning the bark collar off, or twisting the battery off if you are using a collar like the BC6 - Barking DogTraining Collar. Remember that the capacitor might still have a little bit of energy in it after it is turned off. So what you have to do is test it out and empty the charge by testing the bark collar, either by rubbing the probes along a roughish surface (like a chopping board), or activating the test mode if it is vibration activated, if it is sound activated blow heavily into the microphone between the probes on the back of the receiver.
 -
Fit the bark collar to your dog properly. (Learn How Here) Make sure it is not too tight nor not too loose so that it will hit the right contact points on your dog's neck, but prevent any irritation and soreness from occurring.
-
Let the dog adapt to the collar for a few hours so gets comfortable but do not activate it yet. This step is important to prevent the dog from becoming "collar-wise". The dog will soon get comfortable and believe it is an ordinary collar, and will not realise that the stim correction comes from the anti-bark collar. The takeaway here is that the dog will believe that the unpleasant sensation comes because of his loud barking habit.
-
Set the bark collar at the lowest correction level and leave the house just as you would when you have to go outside for work or the store. Your dog is going to bark particularly the dogs with separation anxiety. He might get a surprise, as the dog might feel strange at first because he doesn't know where the correction is coming from. And that's normal. You will also get the same initial reaction with this approach with other bark collars like the citronella spray, or the ultrasonic and vibration variants.

-
Then, once the dog mellows and stops barking, come back inside the house and reward the dog for not barking. You can give him treats, a pat or some belly rubs. This is to provide the dog with positive reinforcement. The dog's going to understand that it does not need to bark when he is left alone and that if he doesn't bark, he will get a reward from you.
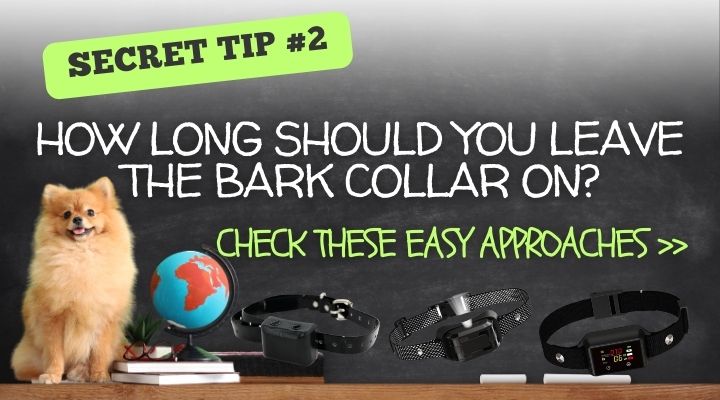
TIP #2 HOW LONG SHOULD YOU LEAVE THE BARK COLLAR ON?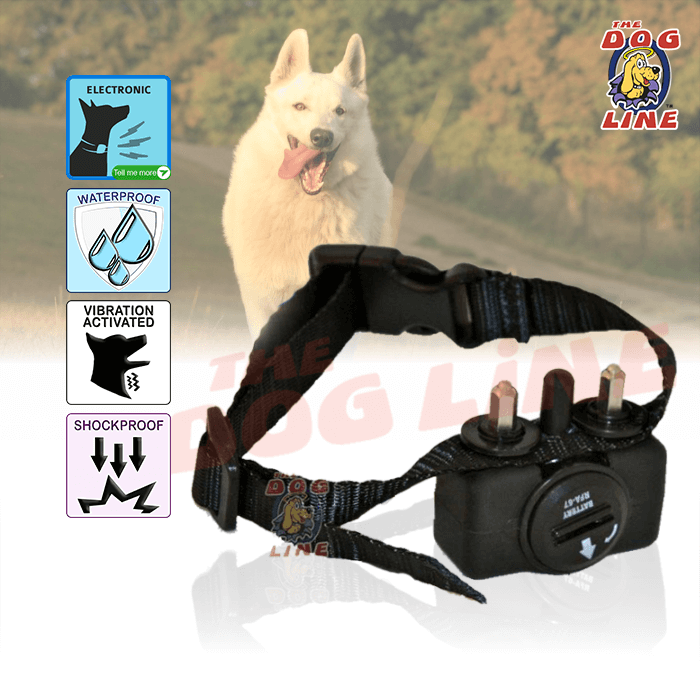
As we always say, no one’s ever bought a bark collar from us because they think their dog will look good in it. Rather they need one because there were noise complaints and they had to control their dog from barking excessively or had to give their dog away.
If you put the bark collar on your dog and remove it regularly, there is a high chance that your dog will learn that the stim correction is from the collar. Dogs are smart. If you take the collar off when it is not supposed to, the dog could learn that if the collar is away from his neck, he can bark all he wants because there will be no stim correction that will follow.
This is one of the reasons why many dog owners become frustrated, give up and fail with the bark collar.
How long should you let the dog wear the bark collar on?
The Four-Week Approach
The second method is the Four Week Approach which has helped many of our clients over the years and kept their dogs' barking at bay. In brief, this technique lets the dog wear the collar for a couple of weeks mostly for a month while you routinely observe the dog, and check the skin around its neck to prevent any irritation from occurring.
If you leave the bark collar on your dog for more than a week without taking it off, while observin g all safety measures like checking the dog’s skin around the neck at good intervals in the morning, afternoon and evening. And if at night time they don’t need the bark collar you can simply move the collar to the side or the back of his neck, the dog will forget about the fact that it’s the collar that is giving the correction.
Pro-tip: It is vital to keep an eye on the skin around your dog’s neck. Ensure that there are no irritations or hot spots that may be worsened by the bark collar prongs.
You may hav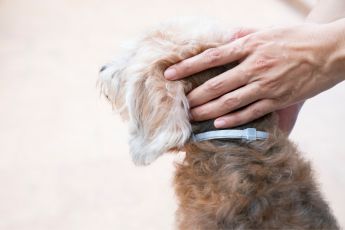 e seen lots of scary images of dogs with sores around their neck and unpleasant feedback from dog owners who regret using the bark collar. But, the truth is that the bark collar is not to blame, but rather the bacteria that accumulates and causes irritation from the rubbing of the probes against the dog's skin.
So it is important to ensure that the probes are constantly sanitised or cleansed and give the skin a few hours to rest from the frequent friction, before putting it back on. As well as observe the proper hygiene of your dogs and keep their environment clean and dry always.
Please never leave the bark collar up too tight and check if you can move it around the dog's neck. As responsible owners, our main goal with the bark collar should be the dog’s behavioural change rather than punishing them.
On a regular day, when your dog starts his barking episodes, you can not just go and be like, “Oh you’re barking too loud, you’re going to have the collar on!” Now, even if the dog becomes quiet, he’ll pick up that it is the collar that was giving him the stim. This is not a sustainable dog behaviour training we want to advocate for.
We have people who would come back to us, and say that they did the 4-week method and now, they no longer need the bark collar and just left the collar on the shelf. Some use the on-and-off method and they’ll just wave the collar in the air, and the dog won’t bark for a good amount of time, which is also good. You don’t want your dog to be afraid of the bark collar. Our common goal is to change the dog’s barking habit and a long-term behaviour fix.
The Intermittent Method
We highly recommend this for dogs on advanced-level training. This is great  if you are prepared to put the bark collar on the dog routinely in the morning when you leave home for work and remove it when you return in the afternoon or evening.
Choose this if you know that you can handle your dog’s nuisance barking with obedience commands. But if you can’t manage a consistent routine, you will notice that the day you don’t put the bark collar on your dog will be the day that he might have his barking episodes.
Some people would come to us for help because they are faced with situations that would lead them to give up their dogs because of the noise complaints. Our family was in a similar fate way back in the early 2000s, my son had a dog that had to be given away because of excessive barking. This is the main reason why we started The Dog Line in 2003, we are advocates of teaching responsible dog behaviour training, so no family has to give their dog away.
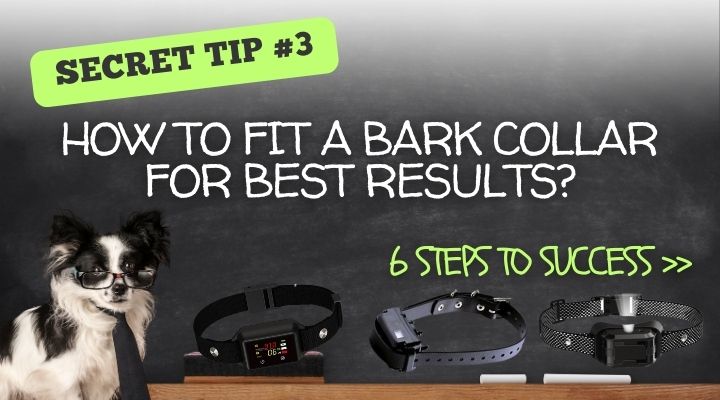
TIP #3 HOW TO FIT A BARK COLLAR FOR BEST RESULTS?
The best bark collar fitting should have minimal skin "contact pressure" but it should have good "contact" with the pet’s skin". 
If the anti-bark collar is too tight, the dog will develop skin irritation around its neck. But, if it's too loose the bark collar will not pick up on your dog's vocal cord vibration, nor be able to deliver the static stim to deter the dog from it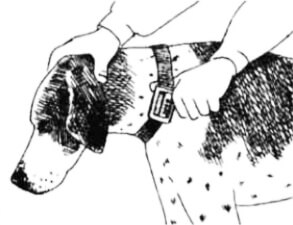 s barking.
Be sure to follow the proper fitting and good hygiene practices to allow the collar to perform its function and prevent the risk of irritating the dog’s neck. Read our third tip on getting the proper fit with your bark collar below:
Ready to have that proper bark collar fit? Follow these steps:
Step 1. Turn the Collar Off
Make sure to turn the collar off before fitting it to your dog - we don’t want any accidental stimulation and don’t want the dog to “know” that it comes from you or the collar. It is important to let the dog stand when you’re fitting the collar - this is because a dog’s neck contracts to a bit smaller size when in a sitting position.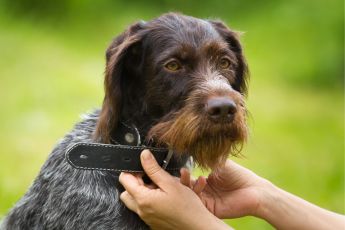
Step 2: Adjust the Collar's Fit
Bark Collars have adjustable straps that allow you to fit the collar to your dog's neck comfortably. Once you've measured your dog's neck, adjust the bark collar strap to the correct size. The collar should fit snugly but not too tight. You should be able to fit one or two fingers between the collar and your dog's neck.
Step 3: Check the Contact Points
An anti-bark dog collar like the BC6 - Barking Dog Collar works by delivering a static shock to your dog once it detects a vibration from the dog's vocal cords and barking sound. The contact points on the collar are the probes that deliver the stim or zap to deter the dog from its barking episode. Please remember that the collar should be a close fit but not too tight - the pressure of the contact points to your dog’s neck should be similar to when you put your fingers to someone’s wrist or neck to feel the pulse.
Step 4: Make sure the contact points are touching your dog's skin, and not just the fur.
Also check, if the 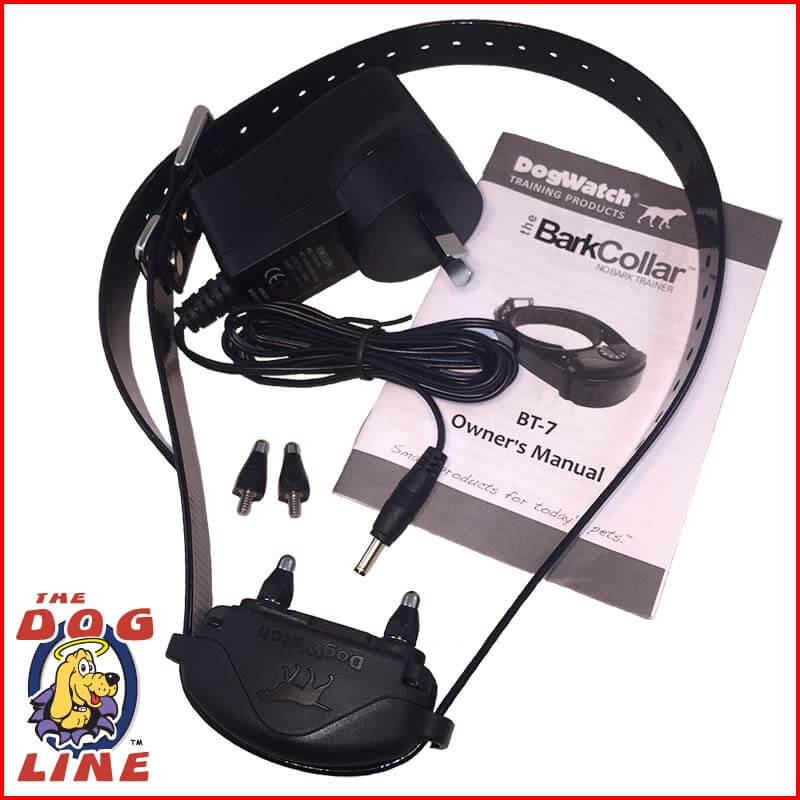 dog's neck has no lesions or skin irritations before using the bark collar. If the contact points are too loose, the collar won
 't work properly. If they're too tight, they can cause discomfort or even injury to your dog.
Check the contact points regularly to make sure they're properly positioned and not causing any issues. Remember that skin irritation can occur mainly because of bacteria that cause skin sores and worsen by the frictions of the probes against the skin of the dog's neck.
So please ensure that the collar probes are always cleansed and allowed to air dry before putting it back on your dog. The same goes for your dog, always maintain your dog's property hygiene, and check the condition of their skin in good intervals within the day.
Allow your dog to get comfortable by wearing the collar for a few hours.
Step 5: Test the Collar
Before using the dog bark collar for the first time, it's important to test it out. Turn the collar on and rub the collar gently across a rough surface like a chopping board or use the test mode if your co llar has one. If it is sound activated blow heavily into the microphone on the back of the receiver box. Once activated you can quickly place it on your bare skin (the forearm is easiest) and feel the correction stim.
Now test it out on your dog, observe and wait for your dog's reaction.
The low level of static stimulation should get your dog's attention but it should not be painful or distressing. If your dog doesn't seem to react to the shock, adjust the collar's fit, turn the stim level a notch higher and try again. If they seem overly distressed calm them down and restart the training when they have settled.
You may need to adjust the level of the shock until you reach your dog's recognition level or the level at which the dog responds to the static stimulation.
Step 6: Monitor Your Dog's Reaction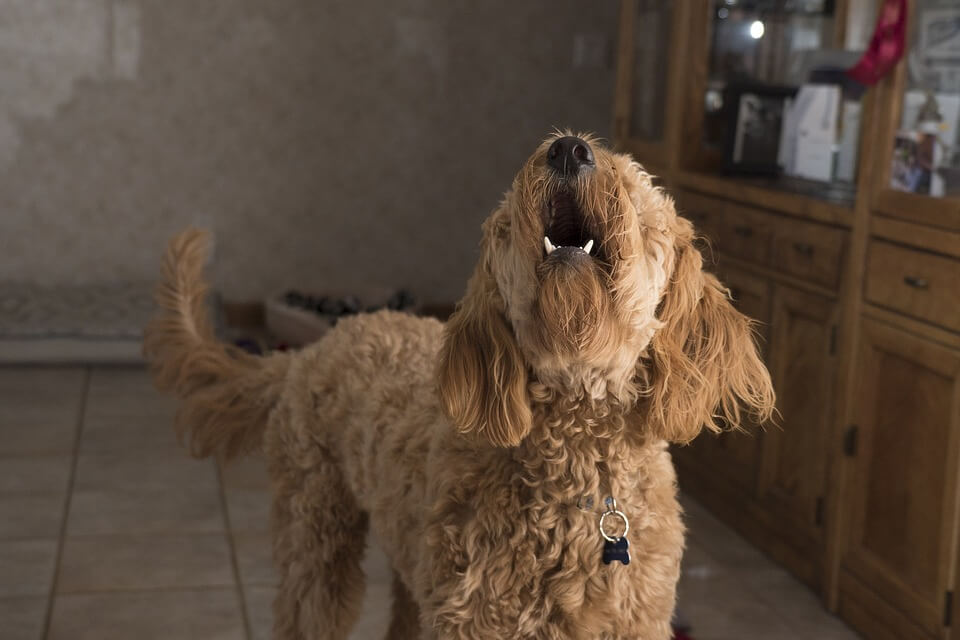
It's important to monitor your dog's behaviour with the dog bark collar. The collar should be used as a tool to reinforce positive behaviour, not as a form of punishment.
Pro-tip: Please remember to maintain good hygiene by regularly cleaning the collar, especially the contact points and by cleaning your dog’s neck. If you notice any signs of distress or discomfort in your dog, stop using the collar immediately and consult a professional trainer.
In addition to fitting your dog's bark collar properly, it's also important to learn the different bark collar training methods with a positive and patient attitude. Dogs respond best to positive reinforcement, so be sure to reward your dog for good behaviour and avoid punishing them for mistakes.
Remember, training your dog takes time, effort, and love. But the rewards are worth it!
A balanced dog is always a joy to be around. With the right tools and techniques, you can successfully train your dog and build a stronger bond with them. Take the time to properly fit your dog's bark collar!
Approach the training with a positive attitude, enjoy the process and witness your dog grow into a well-behaved dog.
If you have any questions or inquiries about Electric Bark Collars, please do not hesitate to reach out to us.
Our 7-day hotline is available at 1300-THE-DOG or 1300 843 364. We are here to assist you, so feel free to get in touch with us today. Happy Training!
Copyright © 2026 Thedogline. All Rights Reserved
we accept: ![]()

All your need is:
1) An Australian Visa or Mastercard debit/credit card; 2) To be over 18 years of age; 3) Valid verifiable email address and mobile number; 4) Legal capacity to enter into a binding contract: 5) Credit checks apply
Read Afterpay's complete terms, visit: https://www.afterpay.com/en-AU/terms-of-service
© 2020 Afterpay
1) An Australian Visa or Mastercard debit/credit card; 2) To be over 18 years of age; 3) Valid verifiable email address and mobile number; 4) Legal capacity to enter into a binding contract: 5) Credit checks apply
Read Afterpay's complete terms, visit: https://www.afterpay.com/en-AU/terms-of-service